ikilledtherpc:Character PSD #03 | DJOODIA 540px graphic with some fun and funky colors. This psd co
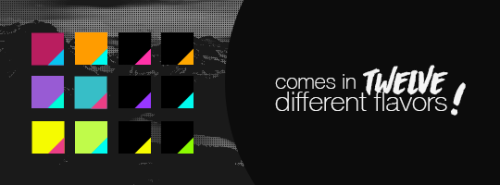
ikilledtherpc:Character PSD #03 | DJOODIA 540px graphic with some fun and funky colors. This psd comes with a starter pack of 12 different gradient maps and utilizes smart objects that self sharpens your image and adds the glowing white lines, so if you aren’t familiar with those, I’d suggest looking under the cut for an easy tutorial on how to use this psd. Hope you found this helpful!EXTRAS:— Comes with a second, thinner border option that you can find in the “borders & textures” group (not shown in this preview.) — Fonts used are montserrat ultra light & asphalts. — Please do not redistribute this psd or take bits and pieces of it to make your own. If used outside of the rpc, credit must be given.DOWNLOAD HERE Keep reading step oneWhen you open the psd, it will look like this. To edit the picture, all you have to do is double click the image thumbnailstep twoIt’s going to open a new tab that ends in psb. Don’t panic! It’s supposed to do that.step threePaste in the image you want to use right on top. I’m using Emily Kaiho for this demo. You can resize or move it any way you want. (I rename my layers to make life easier.)Now, hit save! That would be ctrl + s for windows and command + s for mac.step fourReturn to your psd and you will see an updated psd with Emily Kaiho’s face!other tipsThe great thing about smart objects is that you can go back and edit them later. You can return to the psb in step three, delete Emily Kaiho’s picture, and hit save again to revert back to seeing Sherita Dehon.If you save your psb in step three and then realize your image is too dark to see features & details when you view it in step four, duplicate the layer from step three, change the blending mode of the duplicated layer to screen, and save the psb again. -- source link
Tumblr Blog : ikilledtherpc-deactivated202011.tumblr.com


