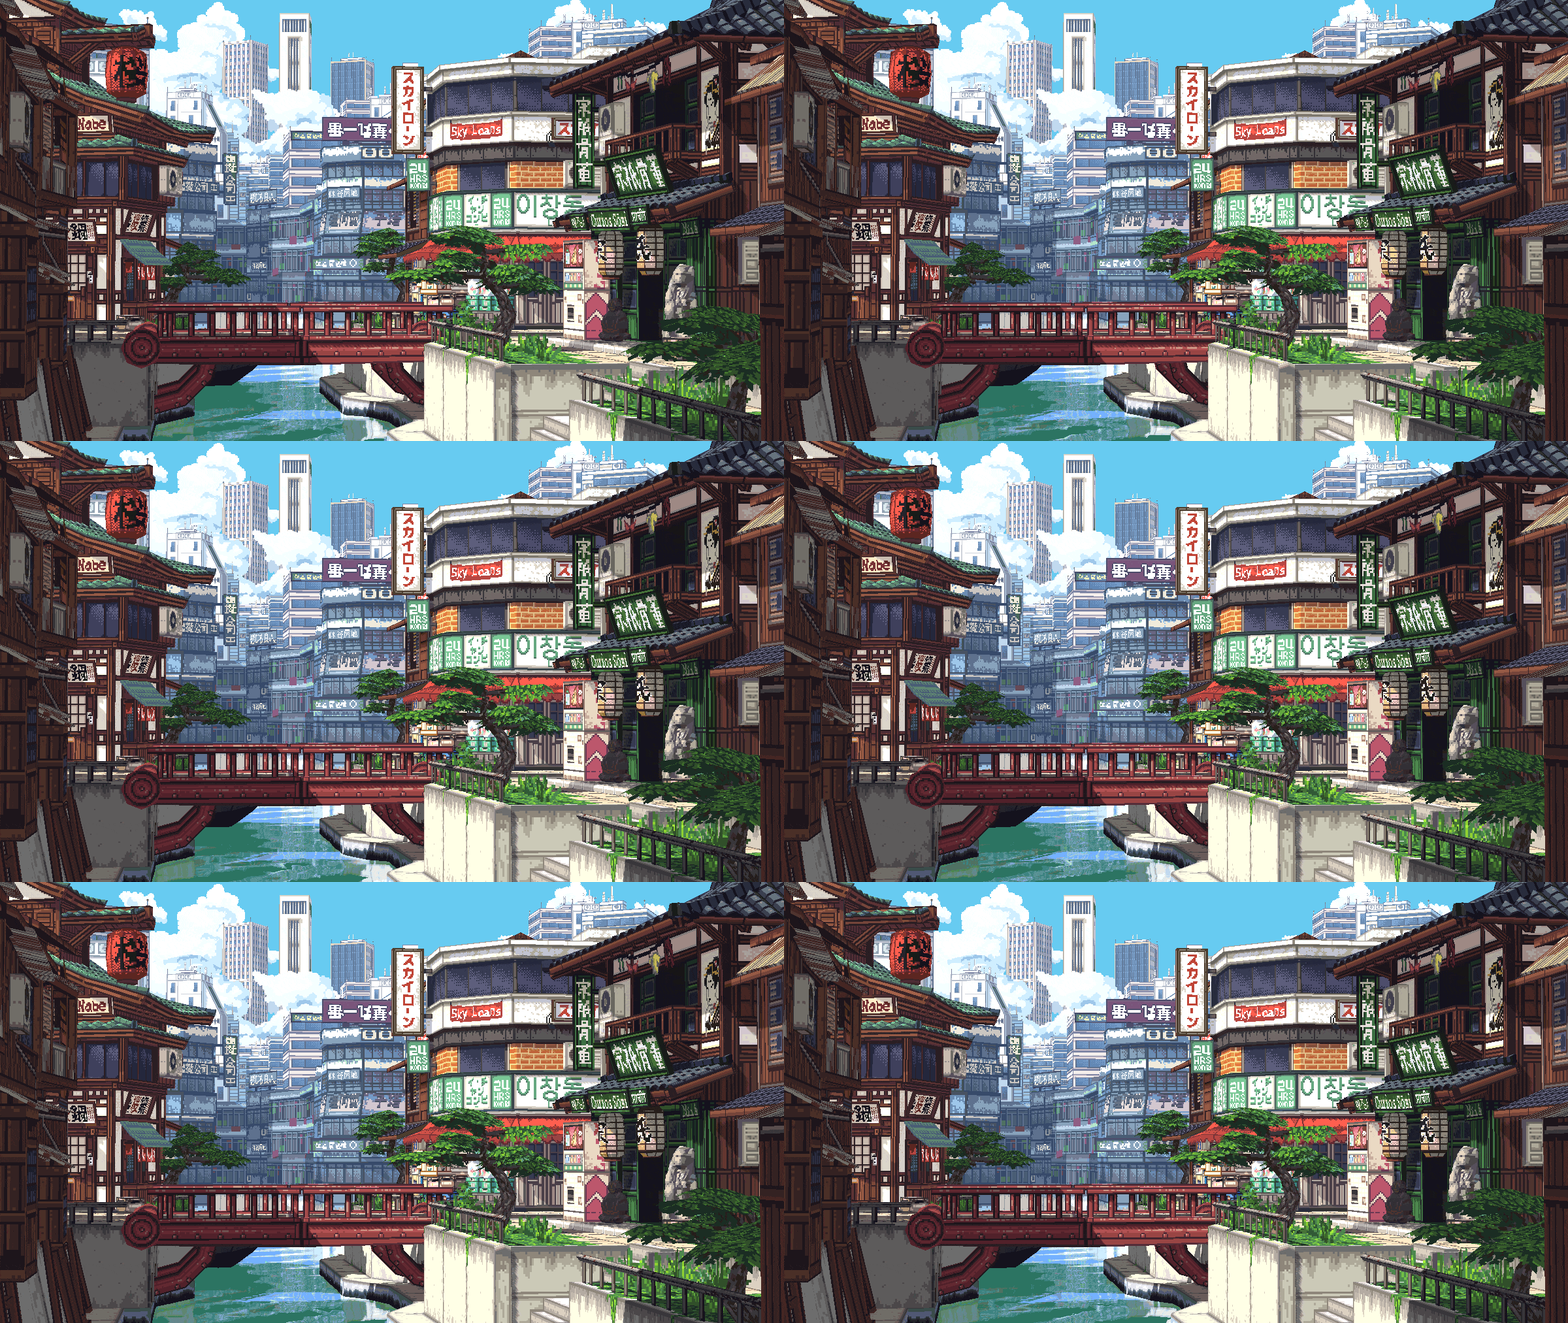
retronator:seafoamboy:Pixel city canals, I was trying to go for those Jet Set Radio vibes. Also its’
retronator:seafoamboy:Pixel city canals, I was trying to go for those Jet Set Radio vibes. Also its’s fully 3D!You can examine the model in your browser with sketchfab!I wanted to reblog this 3D model from @seafoamboy for a month now, but it got stuck in my drafts somehow. It’s a really good example of a pixel art vibe achieved with the combination of 3D and pixel art textures (click on the image, you really need to see it up big to appreciate it fully).It makes me think about my own approach, which is sort of opposite and starts from pixel art and fits 3D geometry on top of the 2D image in order to have precise control of pixel placement at a low resolution. In SeafoamBoy’s case I think the image works so well because it’s rendered highres and has this sort of clean-lineart-anime quality to it (which is really pleasing to me).It’s interesting to note that you can’t simply render such scene to a smaller canvas and automatically get a clean result. Without special consideration of geometry and textures, the result will be more noisy/less readable (the difference is again mainly observed when displayed fullscreen):If you wanted to get closer to a manual pixel art result, I’m guessing trying to paint the pixel art textures at just the right resolution would be tricky, as would positioning the 3D models to align with pixel borders. However I’m also not very familiar with tools that are available today in let’s say Blender, so it might be more easily attainable than I imagine. If you had a fixed-size preview window to always have an overview of the final result (updated in real-time), it should be doable.In any case, it’s interesting to see someone execute a pixel art-textured scene of this scale and it makes it easier for me to imagine doing an even more clean render with uniform pixel resolution/detail density across the image, either with conventional 3D modeling or with my 2D→ 3D conversion approach. I’m very excited to see what results we’ll get when we get there.Hearing comments like this really makes my day!Actually the way I did the models was through a papercraft approach instead of conventional modelling. Imagine those print out paper buildings they have on miniature railroad sets.As you make a 3d model normally the pixels from the texture usually dont stay the same size, (this is called “texel density”) It’s normally not much of a problem, but for pixel art that’s like having different resolutions in a same image, which is a no go.That’s why I drew the buildings first using the same techiques as papercraft. Then I just create a 3d pane with the texture on it, like a sheet of paper, and I just simply cut fold and clue that pane into the shape of a building. That’s how you can easily keep the 3d model consistent and respectful to the pixel art.The colors were a bit more tricky. I made all the textures with the same palette, but with blender no matter how hard you try it tends to create tiny color artifacts in the final render, and when making it into a gif they cause flickering and distortion.So I tool a radical approach and used aseprite to manually pick a 256 bit palette with all the prominent colors in the image, which got rid of the distorting. But the image still had millions of tiny little artifacts from the render, screwing up the bitrate that caused the file size of the gif to skyrocket. I got rid of these with a gif optimizing website, which turned the gif from around 10 mb monstrosity into a a tiny 500 kb gif that I could upload to the net.That’s pretty much all you need to know about this style of pixel art 3d, it would be great if we wouldnt have to resort to these tricks but they get the job done. -- source link
