themommyandbabybear: dreamiedaddy:How to Put on a Diaper I have made this post due to not only rec
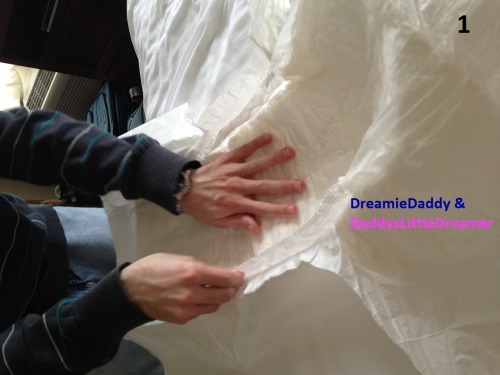
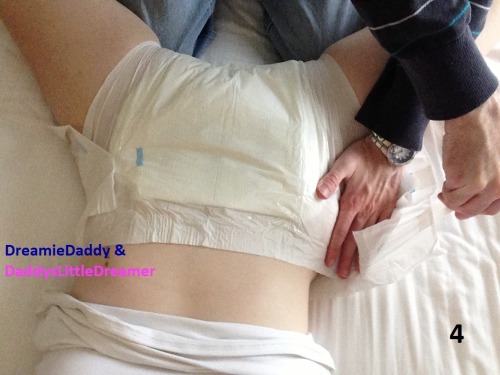
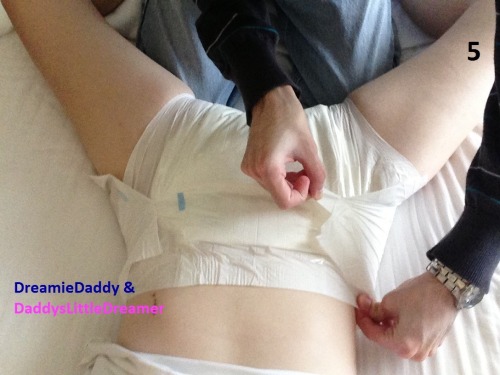
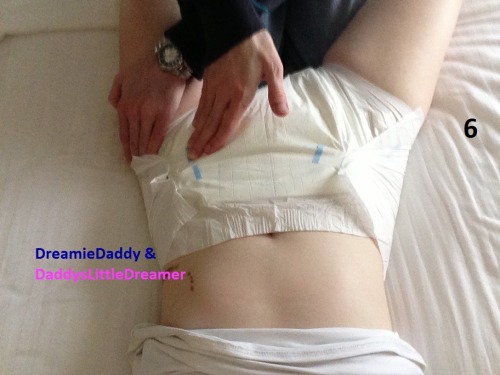
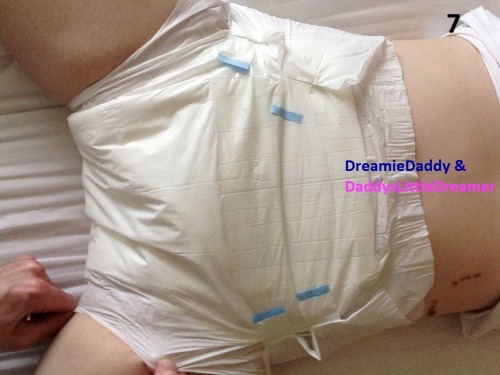
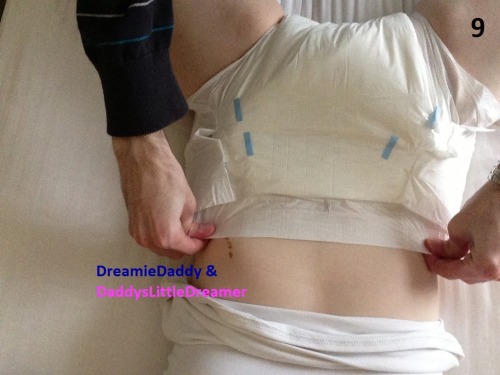
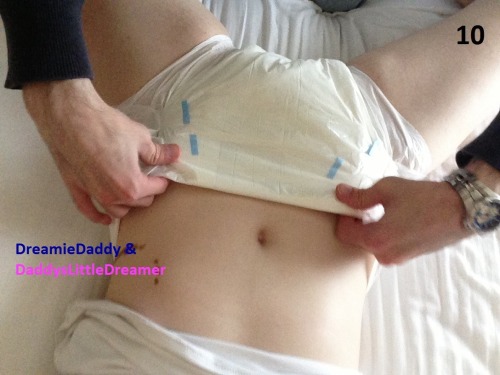
themommyandbabybear: dreamiedaddy: How to Put on a Diaper I have made this post due to not only receiving an anon question a bit back asking if I knew of a good tutorial for putting a diaper on, but also because I see a huge demand in all the new people in the age play community that do not know how or need practice and tips for putting on a diaper snug and comfortable. Each picture is numbered in the order things should be done. These pictures were taken when I was changing my little one. Keep in mind this is how I put a diaper on my little one, and some others technique might vary some what. Even though this is of me putting it on my little one, the same general steps apply when putting a diaper on yourself. 1.) Unfold the diaper and pull up the little elastic band, known as the leak guards that run along the inside of the diaper. Pull it up along the entire edge of the padding, so it is standing up as shown in the picture. Keep in mind some cheaper brands might not have leak guards. 2.) When pulling the diaper up between the legs make sure the top front of the diaper (waistband) lines up with the top back (waistband) of the diaper. Actually having the front waistband about an inch lower than the back typically works best as shown in picture. 3.) This picture jumps past one little step of holding the front in place with one hand while tucking the front side around the hip some before taping it (that can be seen in picture 4 for the other side). After doing that continue to hold the front in place with one hand so it stays snug between the legs until taping the top tape of one side. It does not matter which side first but I recommend the top tape first. 4.) As mentioned in the last step this is a picture of tucking one side of the front of the diaper around the hip. This prevents it from being scrunched on the side of your hip making it uncomfortable. 5.) This is just simply a picture of putting the tape of the other side in place after tucking the front side around the hip. Notice in this picture still holding the front of the diaper in place until the tape is on so it does not come loose and stays snug between the legs. 6.) Putting the bottom tape of one side on, which can be tricky with some diapers. Make sure to get it high enough or when you walk or bend over the bottom tape might poke you uncomfortably in the leg. Make sure there is plenty plastic of the diaper between then bottom tape and the legging of the diaper that wraps around the front of the leg. Repeat with the bottom tape on the other side. 7.) Pull the plastic legging of the diaper out some to make sure its not scrunched up inside. Some diapers have less plastic around the legs than these. These were Bambino Biancos and have more than most diapers, but all diapers will have plastic wrapped around the legs. 8.) Tuck in the part of the plastic legging that connects with the padding into the diaper some. This makes a good seal around the legs and will prevent leaks from fast wettings that flood the diaper and take a few seconds to absorb it all. 9.) Simply pull the top waist band of the front up to make sure the diaper is on straight and snug between the legs. 10.) For some people, they prefer to have the diaper with a low riding waist because it is more comfortable than having a diaper half way up your tummy. Plus I personally think it looks cuter with a low cut waist diaper. So fold the front waist of the diaper neatly inside the diaper. On the back fold the back waist band down on the outside of the diaper. Congratulations you are done! Keep in mind, you will not get it the first, or second, or even third time. It takes practice! The more you diaper yourself or someone, the better you will get at it. Excellent tutorial! -- source link
Tumblr Blog : dreamiedaddy.tumblr.com
