♡ How to make an Action - Photoshop Tutorial ♡Hello everyone! I am finally writing another tutorial
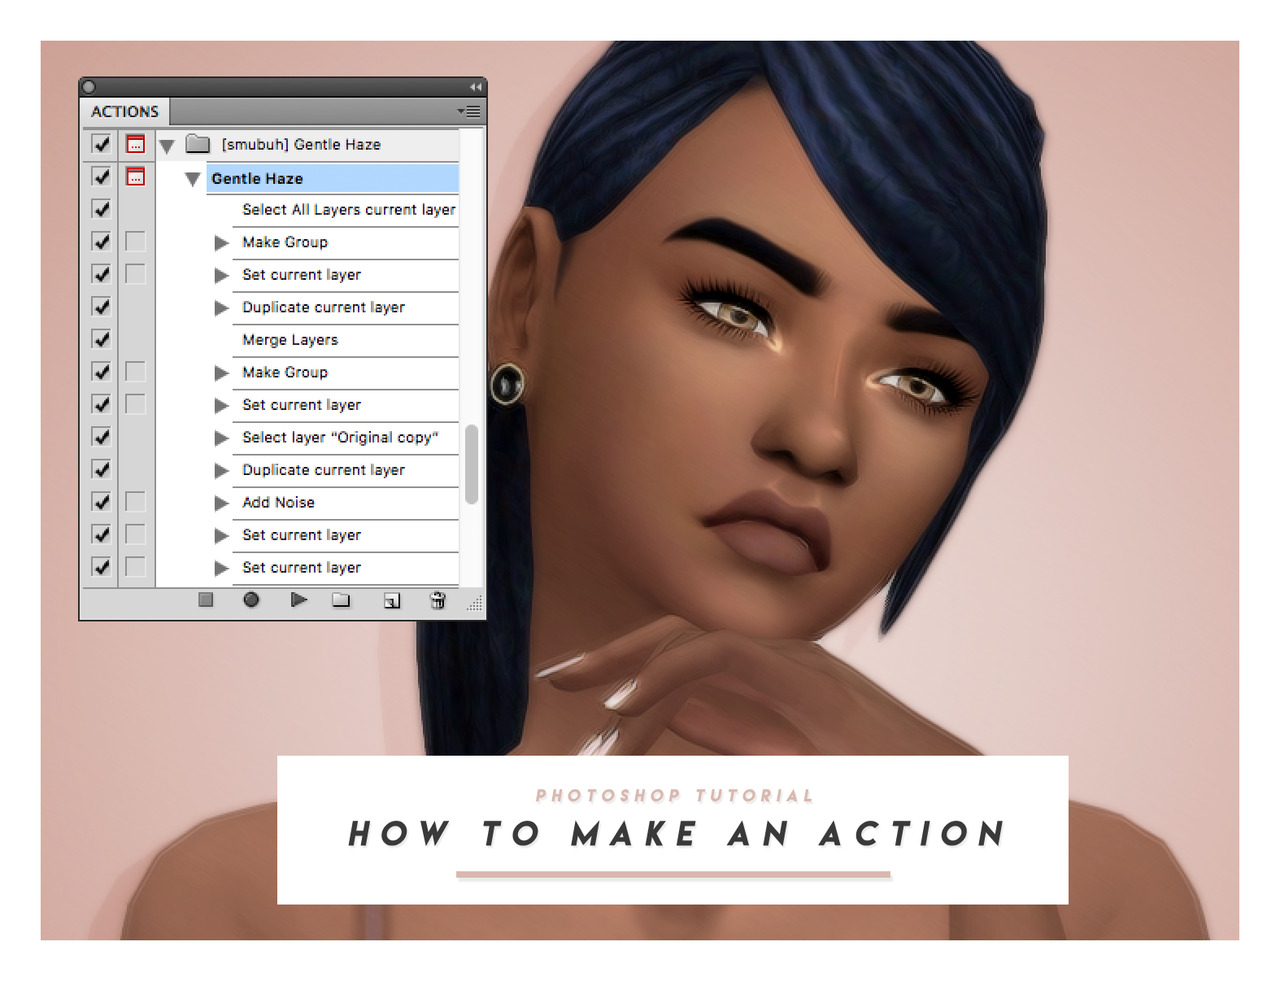
♡ How to make an Action - Photoshop Tutorial ♡Hello everyone! I am finally writing another tutorial after taking a couple weeks off. This tutorial will cover some of the basics of making an action in photoshop. Keep reading to go to the tutorial.Step 1. First make sure that you have the actions window open, go to Window>Actions. To make a new action set, click on the little folder icon and then name your set. Click Ok when done.Step 2. Next we are going to make a new action by click the Create New Action icon, name your action. Once you hit record, whatever you click or adjust will be recorded into the new action you just created.Step 3. The recording should now be going, and to begin the action we will put everything into a folder and name it “Original” incase something goes wrong. Go to Select>>All Layers. Then click Layer>>Group Layers.Step 4. Now double click on the new layer group and change the name to Original, this is where the original image will be.Step 5. Next you need to duplicate the group by right clicking on the “Original” group and clicking Duplicate Group… Then right click the Original Copy group and select Merge Group.Step 6. Go ahead and click on the stop icon in the actions window to stop the action for now. Your steps should look something like mine above. I will sometimes stop the action so I can plan what I am going to do next.Step 7. Now let’s make a folder for the action. Press the record icon on the actions layer to start recording again. Make sure that the Original Copy layer is selected and go to Layer>>Group Layers. Double click on this new folder and rename it to your action. Step 8. Now this where you can start adding adjustment layers and adding any blurs, etc. What I will usually do is stop the action and test things out first and write down what I do. Once I like what I have come up with, I delete my “practice” layers and then start recording using my notes of the steps I did. A couple of things to remember, if you don’t like a step you can click on it and delete it using the trash can icon. You can also double click on a step to edit it if needed. Another helpful tool to use is the little grey square with dots in it, this will toggle a dialog box. For example I have turned it on for the motion blur step. That means that instead of the action just running the motion blur automatically, the motion blur window will pop up and allow the person using the action to change the settings if they want.Step 9. To save your action, click on the action set and then click on the icon in the top right of the action window to reveal this drop down. Choose Save Actions… and then name it whatever you would like!Remember that actions can be a lot of trial and error. I would recommend testing the action out on a image a couple times to make sure it works how you want. I hope this was helpful! -- source link
Tumblr Blog : smubuh.tumblr.com
#photoshop tutorial#sims 4 tutorial#ts4 tutorial#ts4 photoshop#sims 4 photoshop#my tutorials
