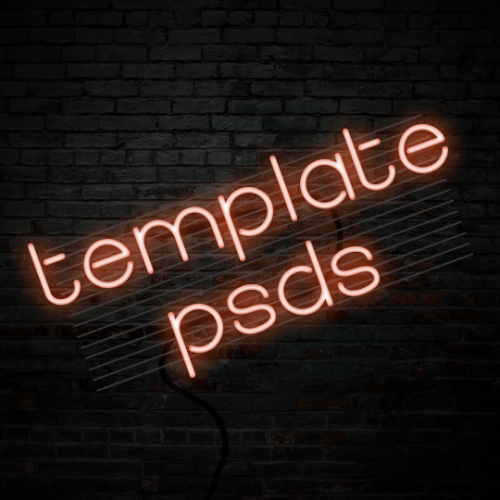
。・ template psd one hundred seven by templatepsds ゜+.*-`. info .’-+ here is a neon light text
。・ template psd one hundred seven by templatepsds ゜+.*-`. info .’-+ here is a neon light text template.+ you can choose to have 1-3 lines (all in different files) and 1-3 different “styles” (which is just the slantedness).+ there is also an optional cord and backing in each of them, as well as some extra designs (bars, hearts, etc.)+ the font used is “Quostige,” which you can download here.+ not for commercial use or anything like that! just for personal use/to have fun.+ adjust as much as you want to suit your liking.+ please like or reblog if you download.+ message if you have any questions/difficulties!+ credits: 1-`. download .’-+ dropbox+ mediafireBelow I will explain how to use the template and change the color:Okay, so once you download the template, choose the folder of how many lines you want and which style you want.Make sure every other style/folder is invisible. Only the one you want should be visible.Click the text layer.Click the text tool in the toolbox.Go to the document and click on the text.Select the current text and replace it with your own.Double-click on the text layer.Upon the popbox, go to the “Outer Glow” tab, click on the tiny pink box, and choose the color you want on that popup. For example, I’ll be changing it to green.Before you close the color picker box, select the color code, copy it, and paste it into a notepad or something to remember it. (it is the 6-digit numbers/letters next to the #)Close the color picker box by clicking OK and go to the “Inner Glow” tab.Click the tiny pink box and enter the previous color code you pasted into the notepad. Click OK when you’re done.Click OK again to exit the blending options popup, and now both of the glows should be the same color.Now, you can remove the backings and/or the cord if you want.Or, you can add the extras.If so, you’d need to change the color of those as well.In that instance, double-click on the text layer again.Select “New Style” in the upper right corner of the popup box.You can name it whatever you please and click OK when you’re done.This will create a style with the same effects/colors as the text.Click OK to exit the popup box.If your styles tab is not open, go to Window > Styles.The style tab should look something like this, though it may be much bigger.Go to the extras folder and select the layer of which one you want.Go to the style tab and click on the style you created. It should be the most recent/last one in the tab.It should make any of the extra details you chose turn the same color as the text.Repeat the process for any other extras.If you want different colors for each element, repeat the process from before. (change the inner and outer glow)Save it and you’re done. -- source link
Tumblr Blog : templatepsds.tumblr.com
#yeahps#completeresources#itsphotoshop#templates#template psd#template psds#psd template#template#psd templates#photoshop template#photoshop templates#photoshop resources#resources


