Simple Alterations TutorialOtakon hands out these great swag bags when you win something in their co
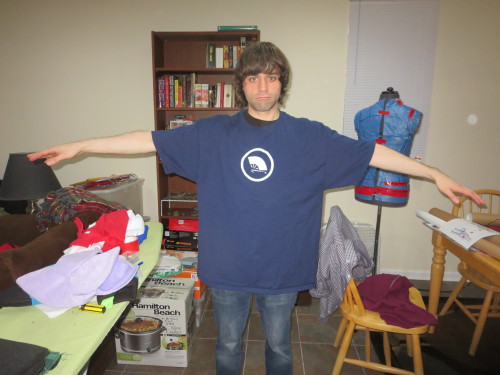
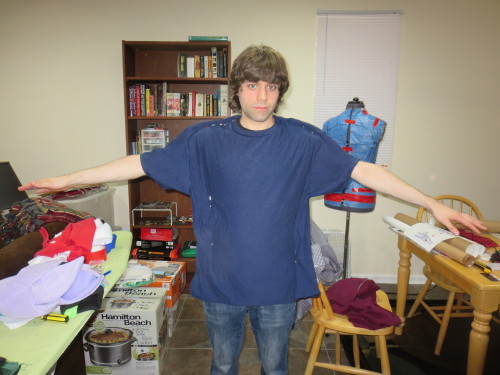
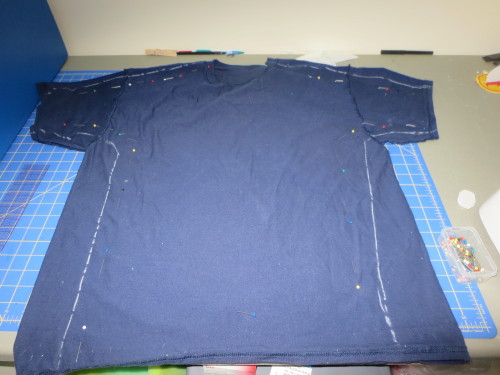
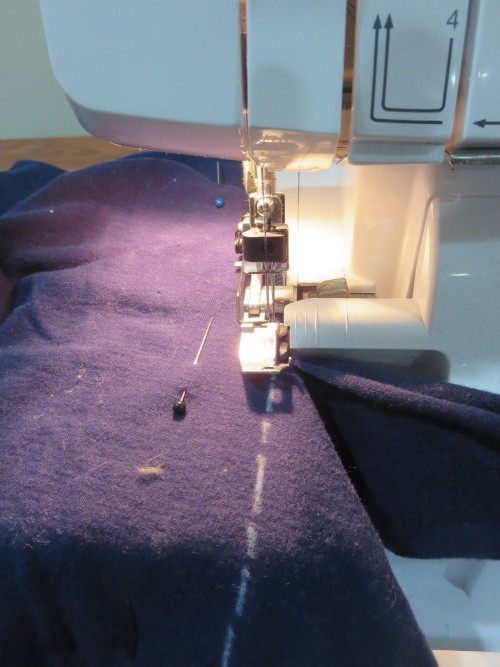
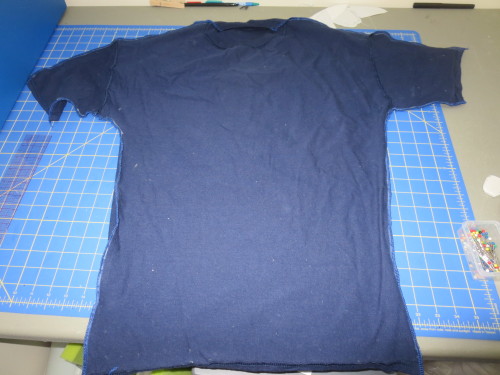
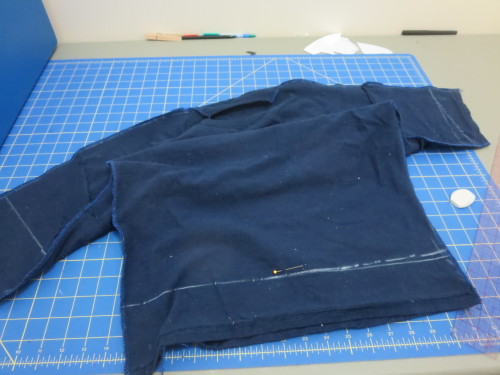
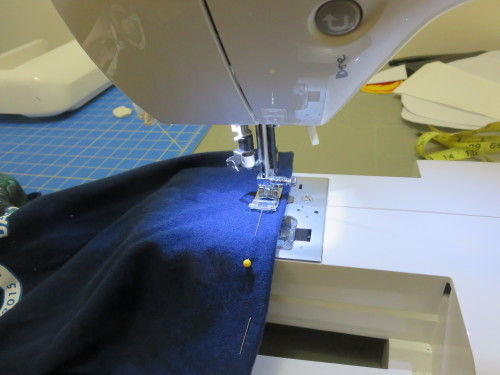
Simple Alterations TutorialOtakon hands out these great swag bags when you win something in their cosplay competitions, but the con-shirts inside tend to run a bit on the large side. I probably should have just exchanged it at their merch booth, but since I forgot to do that, it means I can show all of you how to alter something.Flip the garment inside out, and pin how you would like it to fit, works best with a second person. I used a normal shirt that fit me underneath the otakon one as a guide for the neckline.Make sure points of pins face in such a way so that when you take it off you won’t stick yourself.Use tailors chalk to mark out all of your linesUse a serger or a regular machine with a zig-zag stitch to make new seams across the whole thing.Test fit, and take more in if necessaryChalk out new hemsEdge the new hems and tack them down with a nice top stitchEnjoy your now fitting shirtThis can also work well with any second hand clothing or costumes. This tutorial works best with tops, but you can also easily hem pants that are too long this way as well.If you do not want alterations to be perminant, make sure you use a looser stitch and do not trim anything, you can always fold in seams and flat-fell them so you could technically rip all the seams out and return things to their original state.Thanks to RoseSpirit for assisting :) -- source link
Tumblr Blog : caffeinatedcrafting.tumblr.com
#sewing tutorial#tutorial#sewing#clothing alterations
