This is Part 1 of my Yona’s Sword Dancing Cosplay Progress. This cosplay has taken me three mo
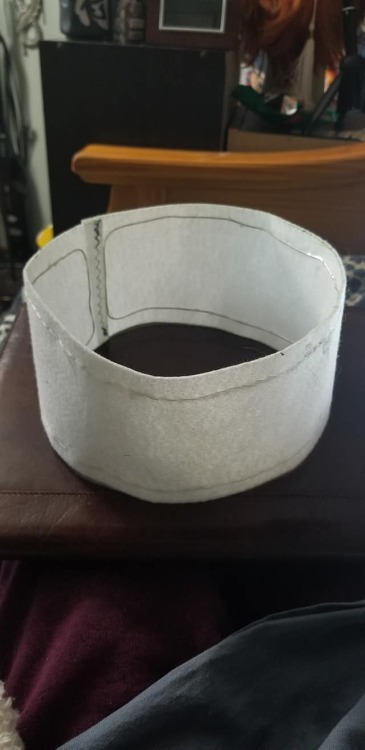
This is Part 1 of my Yona’s Sword Dancing Cosplay Progress. This cosplay has taken me three months to make and most of it was just waiting for supplies to arrive in the mail. I had a LOT of shipping issues and fabric issues. The blue fabric I used for this cosplay was very hard to fine. Two of the stores I order from were out of it or discontinued what I originally wanted to use. So ended up having to settle for another fabric which ended up having the effect I wanted. I choose this cosplay because it was one of my favorite scenes in the manga, however it was never seen in the anime. I did get lucky and a fellow fan saw the new stage play, which feature this scene. They were able to show me photos of the costume from the stage play which gave me more ideas for my cosplay. A lot of the cosplay deals with beaded fringe, beaded necklaces, and a lot of hand sewing. The first thing I made was the anklets. I use a snap as a fastener. These took like five minutes to make. Super simple. The next part was the sash. I used a beautiful silk stripe fabric I found on Etsy. I always wanted to work with silk and it was so nice to work with and added such a beautiful touch to the cosplay. This is fastened with velcro at the side and hidden by the two tails of the sash. I used the same fabric for the body of the dress and the boarder of the dress for the ends of the tails. Once the side seam was done I sewed on two buttons on each side of the tails. You will see more in detail in Part 2. The easiest part was making the dress. I used a poplin fabric in the shade lavender. Then I used a navy blue light weight denim for the collar, cuffs, and hem of the dress (You will see in Part 2). Usually these dresses would tie at the sides, but I used snaps to lesson the bulk the ties would make. The sleeves have not been sewn on because I later would have a friend embroider on the sleeve cuffs and such, I will talk more in detail about that in Part 2.The lengthy part has been the hat. I used a very stiff interfacing along with wire to make the base of the hat. The wire in hand stitch into place. Then I overlay the denim and machine stitched it into place. It took a while to work on the hat because I had to wait for supplies of the beads and trim. Took about a month to get all those and still had to order more. Lesson: When doing bead work buy more than you think! I hand stitch the trim into place. For the short beaded fringe I used 4mm gold hematite round beads and small amethyst nugget beads. For the longer beaded fringe I used 6mm amethyst round beads and large teal apatite nugget beads. More information and photos on the hat will be in the next blog post. -- source link
Tumblr Blog : daimontabitha.tumblr.com
#cosplay#usacosplayer#cosplaywip#cosplayworkinprogress#prince yona#yona cosplay#ヨナ#暁のヨナ


