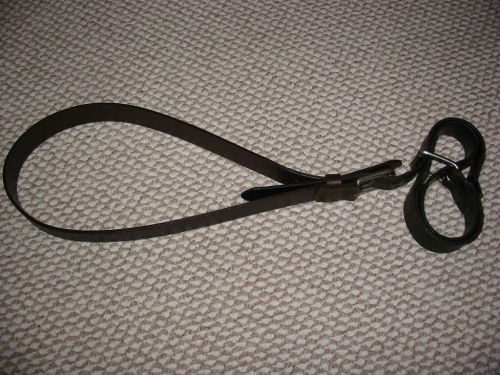
dare-master:Belt Handcuffs Step One: Thread the tail (non-buckle end) of the belt through the buck
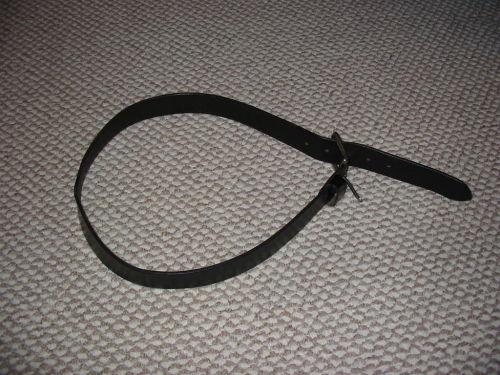
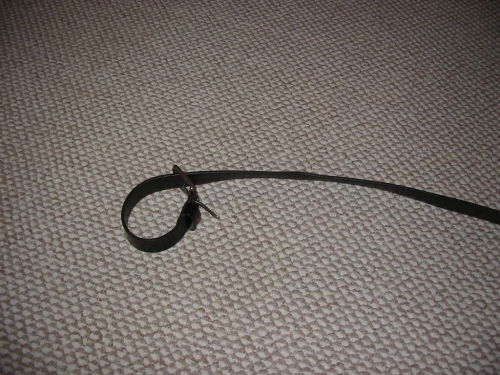
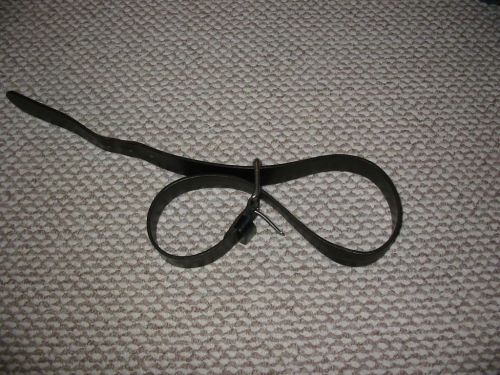
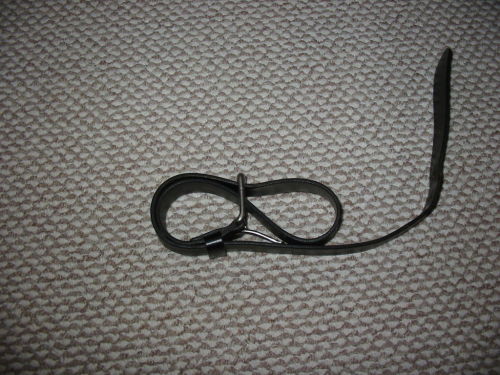
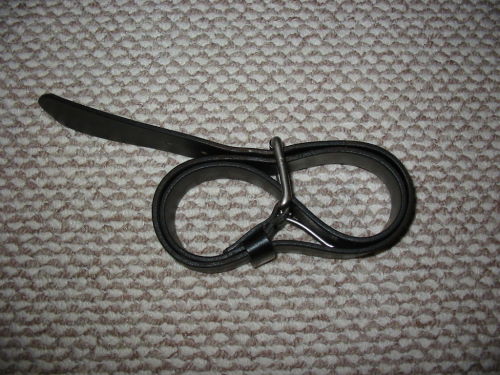
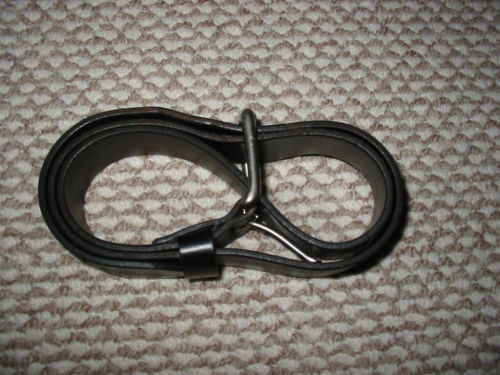
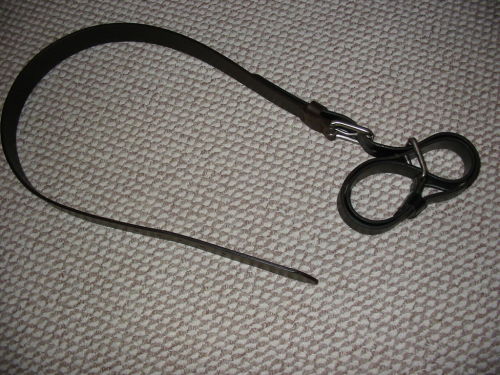
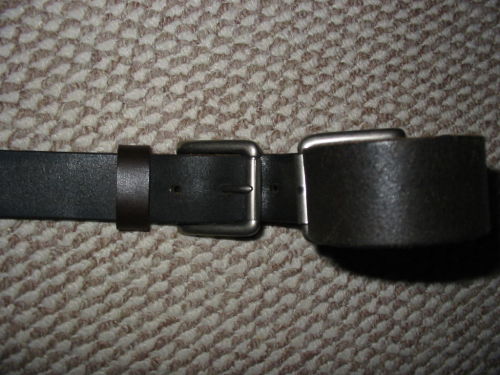
dare-master: Belt Handcuffs Step One: Thread the tail (non-buckle end) of the belt through the buckle. Pull it tight enough so that the resulting circle is sized accordingly to whatever you are cuffing. For the sake of this tutorial, we will call this circle the “cuff”. Step Two: Loop the lose tail back through the belt buckle’s square frame, creating an infinity symbol, or a figure eight ( 8 ). Again, size the “cuff”, by pulling on the tail, to an appropriate size similar to that of the first “cuff”. Step Three: Bring the tail around and slide it through the belt loop while making sure not to alter the size of the cuff it should now be encircling. Step Four: Take the tail and slide it through the square belt buckle frame. It should be parallel to the other segment of belt you slid through in step two Step Five: If your belt if large, simply repeat steps three and four until all of the tail slack has been used up. Alternately, you may use the extra slack to fasten the newly made handcuffs to some other object. To tighten the handcuffs simply pull on the slack while making sure the individual cuffs remain in shape. And that’s it! you have successfully made your very own pair of belt-handcuffs All credits to original author Visit here for more DIY instruction -- source link
Tumblr Blog : dare-master.tumblr.com
