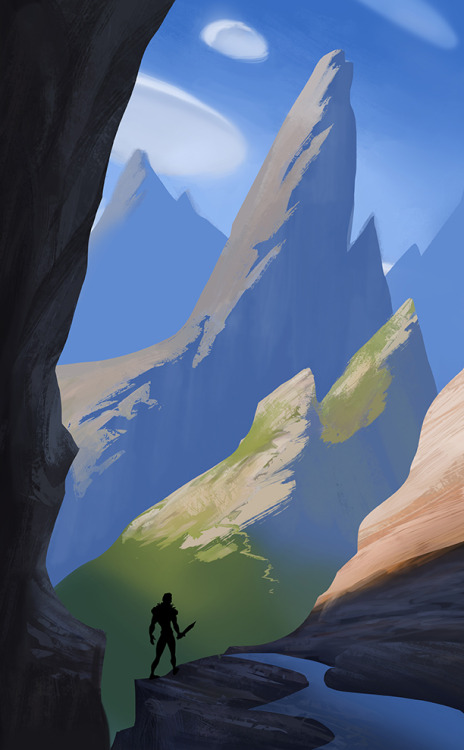
tycarterart:Painting Process on Mt. OlympusI’ve gotten a lot of questions about my painting process
tycarterart:Painting Process on Mt. OlympusI’ve gotten a lot of questions about my painting process so I’ve put together this play by play with my thought process. 1. Design and Value-Before starting, I want to make sure I have a nice design I’m happy with. I need to know this before hand because it’s really my blueprint to paint light and color. So, the shapes are really important. Then I need to make sure each shape is distinguished from the one next to it. This is Value. It is the single most important thing here. This step is crucial to getting the color to work. If the Value is off, then I will never get the color to work. 2. Light Shapes and some temperature-Here, I’ve laid in some rough color with broad strokes. I’m just looking at relationships. There is nothing more to it but this step is important before I invest time in the edge of forms. I do everything up to this point at a very small thumbnail size. 3. Rough Texture and Foreground-Now that some of the lights are working I take a look at the shadow area. I adjust the color to match the atmosphere. I experiment with the transition from light to shadow with a texture brush. 4. Light Reveals Texture Details-At this point, I am working at about 100%-125% and start to paint in any cast shadows in the light shapes. I work from large to small. I keep my focus on just the areas of light since the shadows will be much less detailed. Shadows are transparent. Light reveals texture. Dark reveals form.5. Principles of Light-Up to this point, I’ve hit my key light, cast shadows, core shadows, fill light, occlusion, and now I’m approaching bounce. This is an unusual image because the bounce isn’t really obvious in the cliff shadow sides. So, I subtly lift out a little texture in the atmosphere of the cliffs. I have to keep it very subtle because the texture is not revealed in light but without anything it doesn’t feel right. I run through my principles of light and make sure I’m following a consistent light direction. I add some clouds into the background to test my depth. It feels good so now I’m thinking about adding them to the mid-ground somewhere. I add a figure silhouette where I am pointing my light shapes. 6. Nitty Gritty-Okay, now the gloves are off. I’m getting down and dirty to hit every little detail. I know where I can invest. I keep the shadow areas simple. I add fill light to the figure. I keep its value darker than the background for readability. 7. Final touches-I make any final adjustments here to assist the story. When it’s ready, sign it and ship it!I hope this helps in your own artistic decisions. Please feel free to share and send in any questions for future process tutorials. For more updates, you can follow my facebook page here: https://www.facebook.com/TyCarterArt -- source link
Tumblr Blog : tycarterart.tumblr.com
#art ref


